How to Maintain a Wood-Fired Sauna
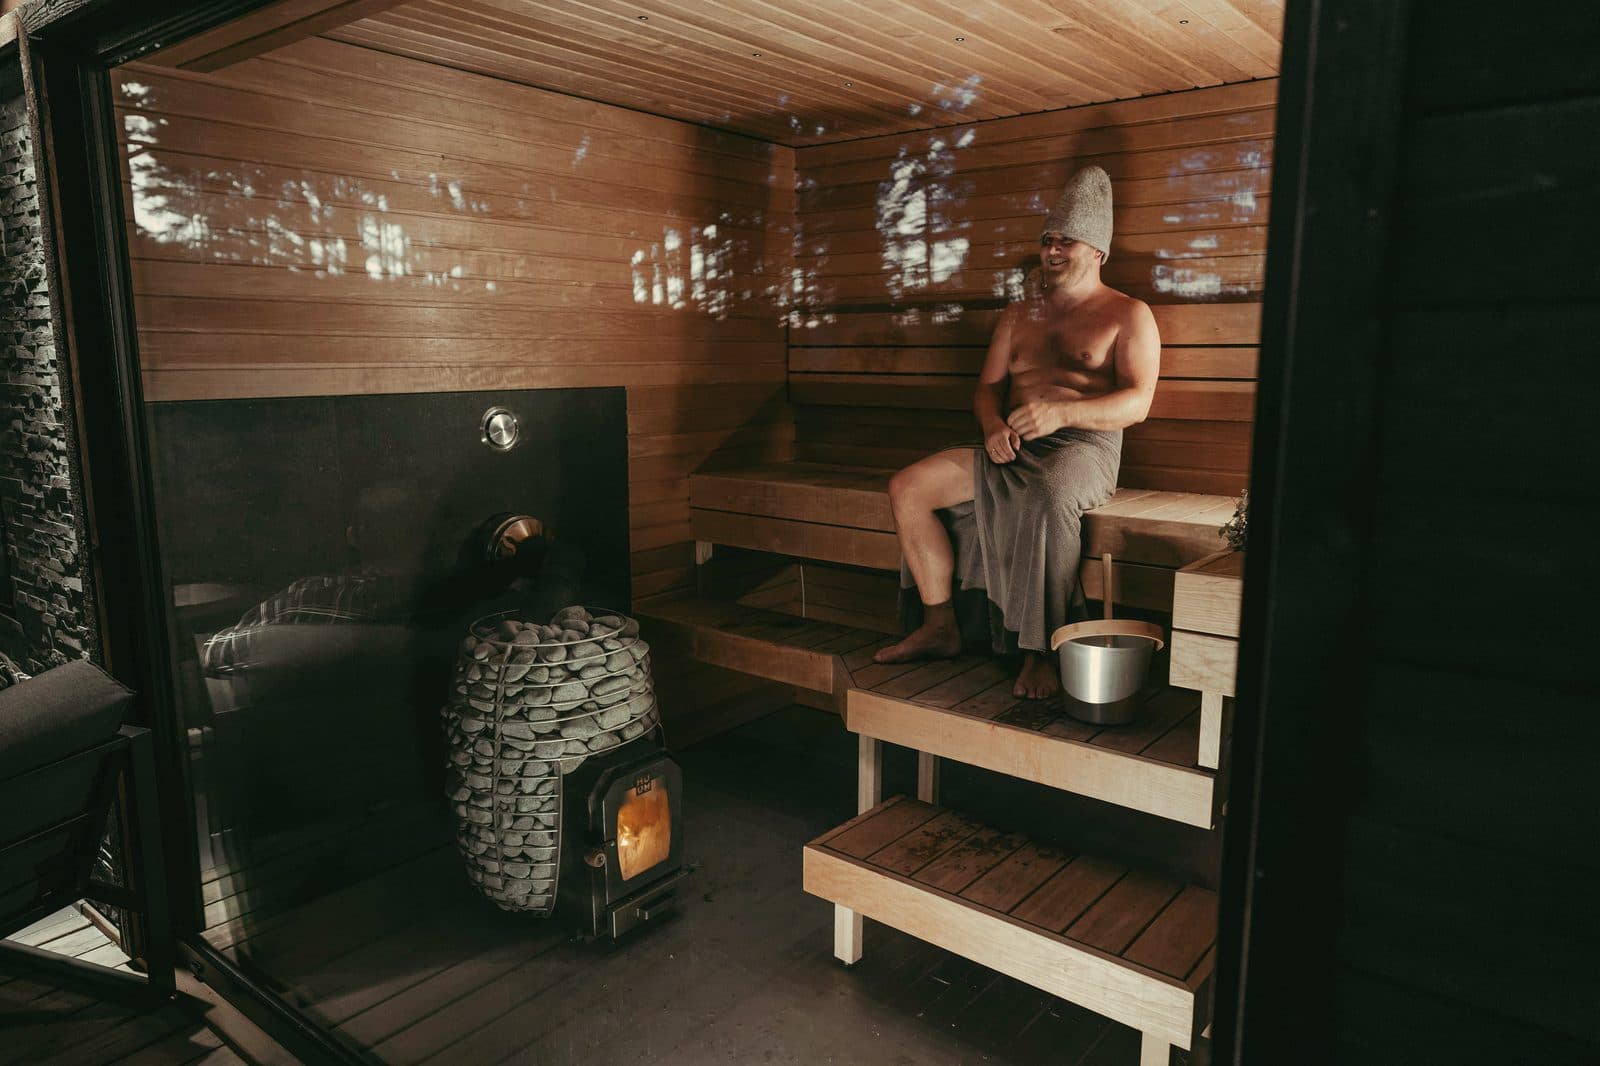
This guide explains what a wood-fired sauna needs to keep it working, and how often, for someone who already owns one. It covers the jobs after every session, the ones that come round annually, and the recommissioning check before the first proper fire of the season.
Almost every maintenance article a UK owner will find is written about something else. Log-burner advice is abundant, well written and about a room heater that runs at moderate output in a dry house. Electric sauna advice is about a hot box with no combustion in it at all. A wood-fired sauna is the awkward combination of the two: a fire burning hard from cold to well above 80°C, in a small, deliberately humid timber building, over and over. Where the advice below comes from general stove practice rather than from a sauna source, we say so.
Four things are worth knowing before the detail.
- Empty the ash before every firing, not every few firings. Narvi and HUUM both instruct this in their own manuals. On a sauna stove the ash drawer is what sets the primary air, so ash left sitting in it starves the fire and overheats the grate. The domestic-stove habit of leaving a little ash in the pan does not carry across.
- A new stone bed needs looking at after about two months, not after a year. Harvia's own care instructions say stones settle most rapidly within two months of piling, while nearly every schedule published online — including ones written by sauna companies — says to check them annually.
- Almost none of this is legally required for a typical garden sauna, which is exactly why it gets skipped. What actually holds you to it is your stove's warranty and your insurer's questions after a fire.
- If your sauna is near the sea, corrosion is your main maintenance problem. Narvi warns that sea air and humid climates accelerate heater corrosion. Of the 279 saunas in our directory, 116 sit on the coast — every one of them wood-fired.
Where a job belongs to another guide, we link rather than repeat it. Stove selection, burn technique and stone-bed depth are covered in the stoves guide; construction and insulation in the build guide.
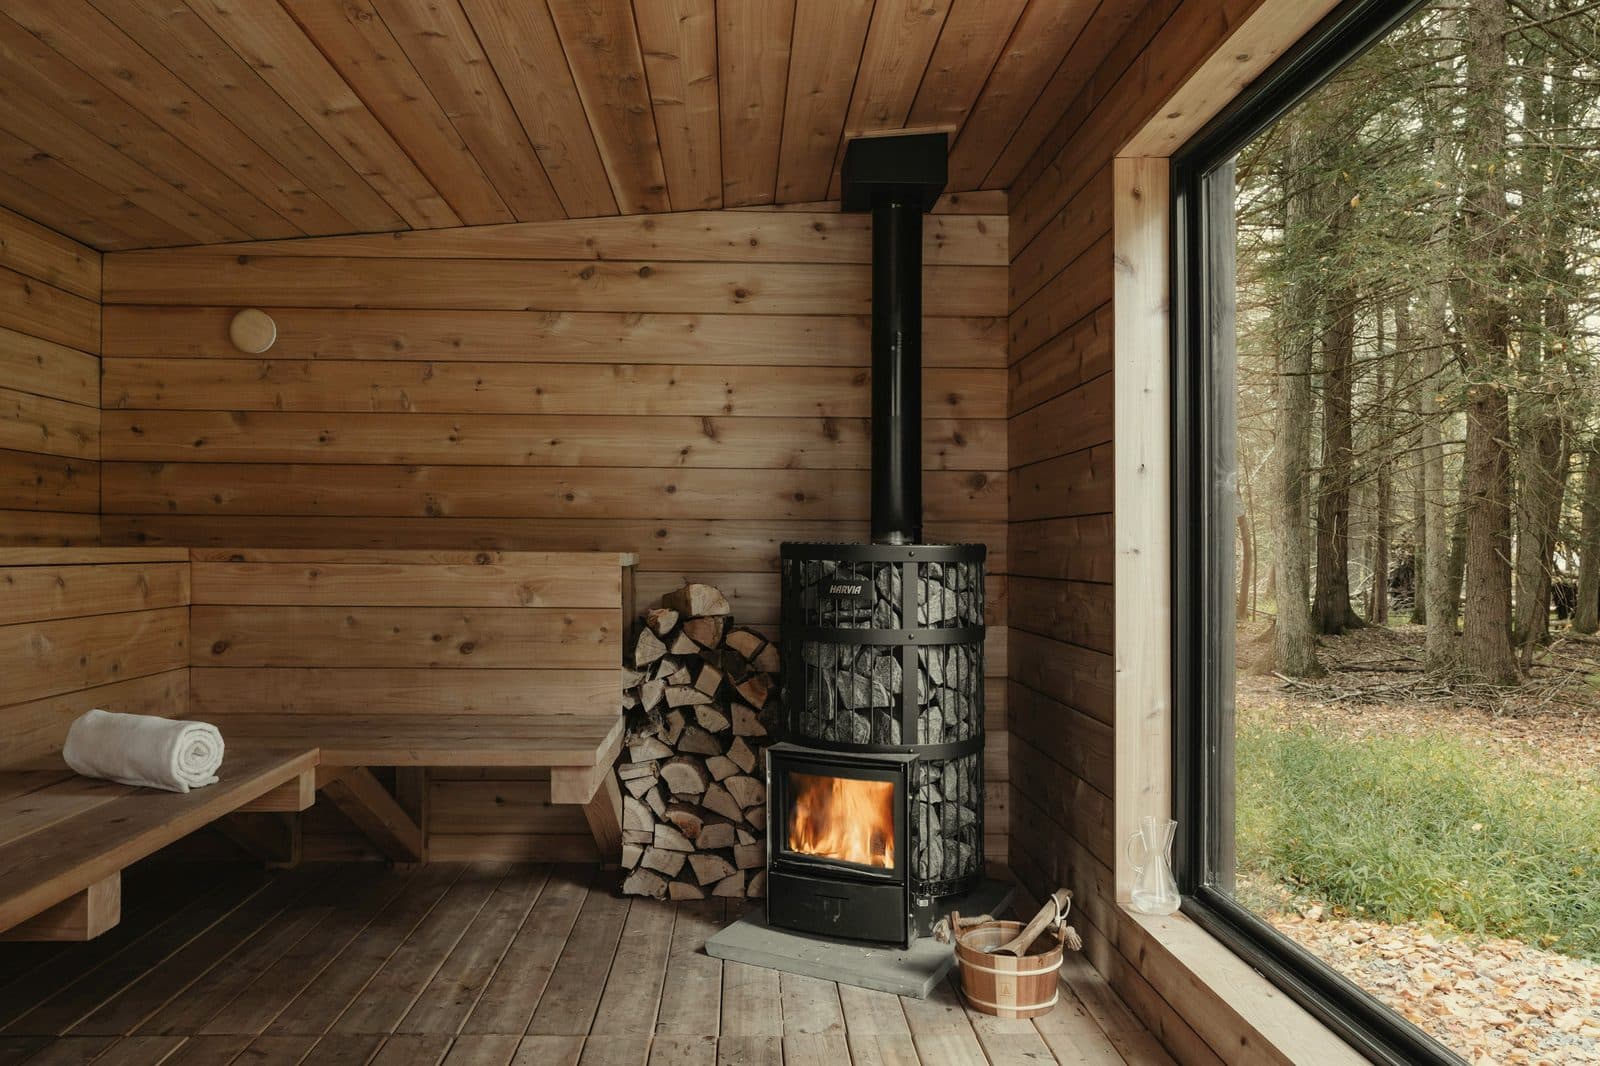
What wood-firing actually does to a sauna
Three forces act on the building and everything in it. Generic sauna care thinks about one of them, generic stove care thinks about another, and the interaction between them is where wood-fired saunas actually fail.
- Combustion. Soot and tar deposit in the flue, ash accumulates in the drawer and on the grate, and the firebox metal is cycled hard. This is the part log-burner advice covers well.
- Thermal cycling. A sauna goes from ambient to operating temperature and back again in a few hours, repeatedly. Stones are the visible casualty — Harvia attributes their disintegration directly to large temperature variations — but the same cycling works on stove metal, fixings and timber.
- Moisture. Water poured on stones, sweat, and cleaning water all land in a small enclosed timber box. Manufacturers are blunt about the consequence for the metalwork: HUUM's warranty expressly excludes damage from "the combined effect of high temperature and water".
Put the three together and the pattern is clear. A sauna that dries out fully between sessions handles all of this well for many years. One that never quite dries is corroding its own stove and feeding mould in its own timber, and neither problem announces itself until it is expensive.
What is actually required of you
Very little, which is the honest answer and the reason most of this page gets skipped. For most garden saunas in Britain there is no legal maintenance duty at all. As our planning and building regulations guide sets out, a typical detached garden sauna is exempt from the Building Regulations entirely — Part J included. So the carbon monoxide alarm provision does not bind you, and we can find no statute requiring a domestic flue to be swept.
That absence is worth understanding rather than celebrating. Two things do hold you to a maintenance routine, and they have teeth:
- Your warranty. Narvi's two-year warranty requires that "use, installation and maintenance meet the requirements stipulated in the instructions", and excludes damage caused by neglected maintenance. Your manual is not advice; it is the condition of your cover.
- Your insurer. Not in the way the sweeping trade usually claims. Most home policies do not explicitly require an annual sweep. What they do carry are general conditions about keeping the property in repair, and after a fire an insurer will ask what maintenance you can evidence. This is the same position we take on installation certificates: a description of insurer practice, not of law. Read your own wording rather than ours.
One safety note that sits outside all of it. Approved Document J's carbon monoxide requirement is limited to appliances in dwellings, and a garden sauna is not a dwelling — so nobody is going to make you fit an alarm in the smallest, most airtight room you own. Fit one anyway. Part J's own note is worth quoting: a CO alarm "should not be regarded as a substitute for the correct installation and regular servicing of combustion appliances". Bear in mind that its siting guidance assumes a room bigger than many saunas, asking for the alarm to sit between one and three metres horizontally from the appliance. In a small cabin, follow your alarm manufacturer's instructions and put it high, away from the immediate heat of the stove.
After every use
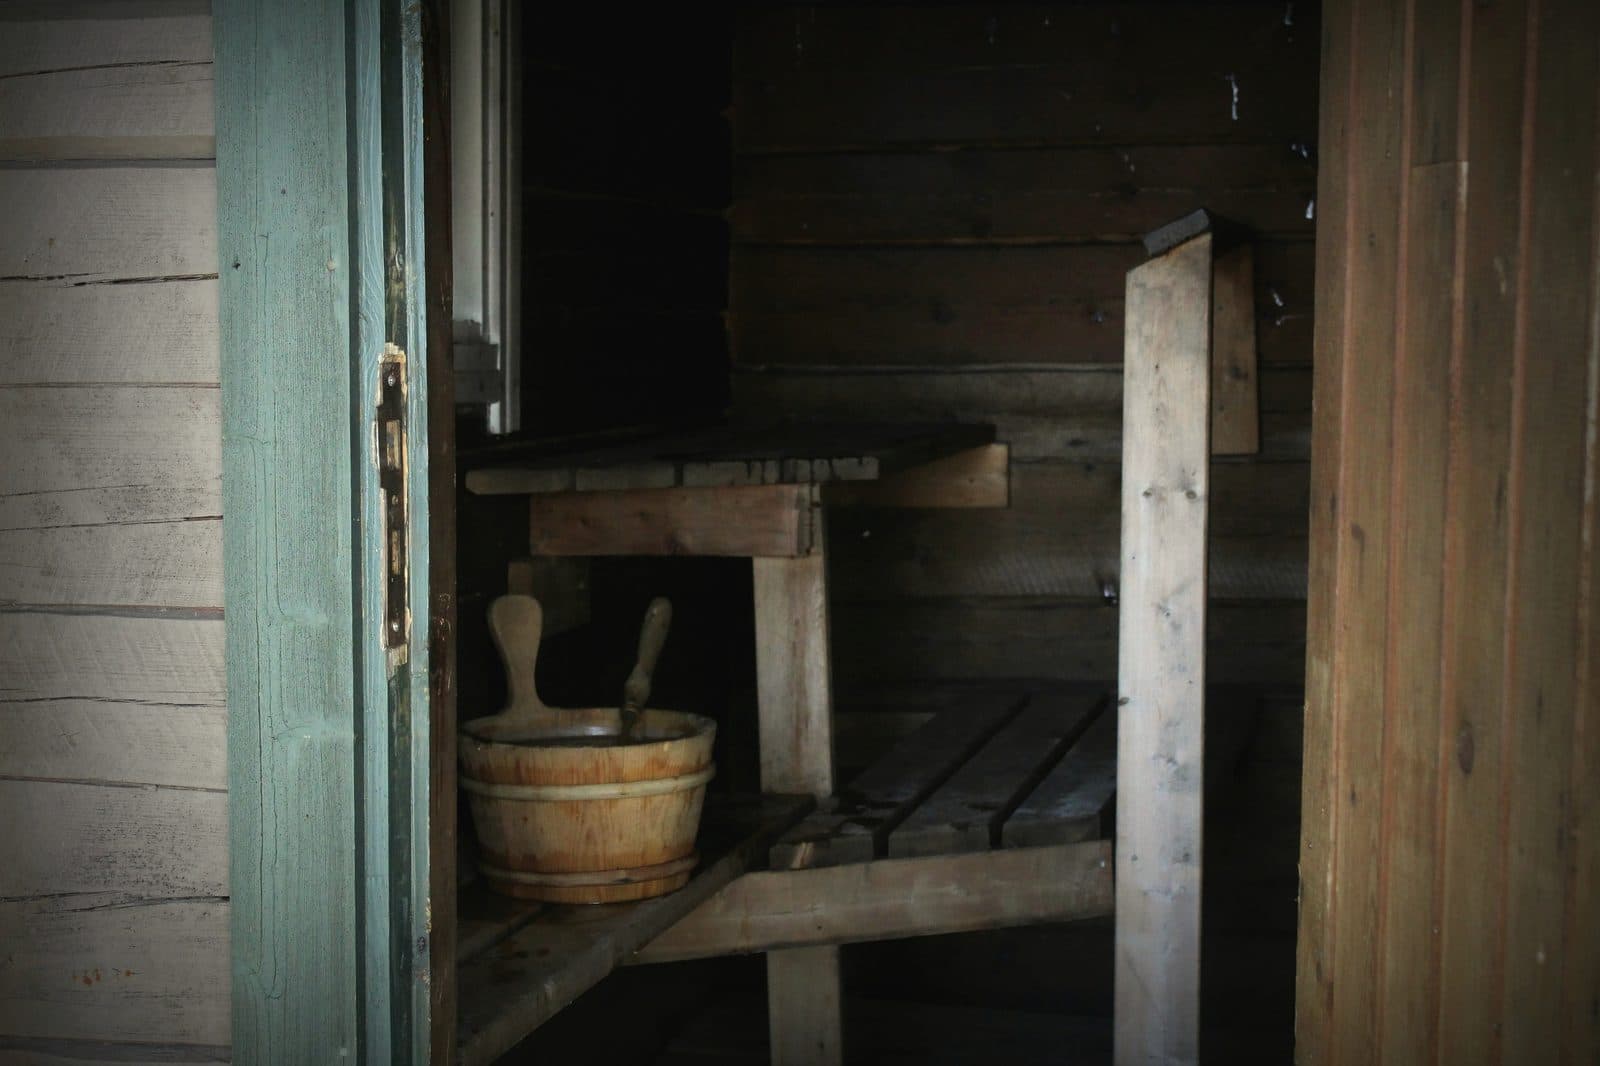
The shortest list in the guide, and the one that prevents most of the rest. None of it takes more than a few minutes.
- Get the sauna dry. Harvia's instruction is to make sure the sauna is completely dry after use "by leaving the stove on for a while (about 10 minutes)". Narvi says the same thing in its own words: leave a small fire in the heater after the session so the sauna dries. This is the most wood-fired-specific maintenance instruction there is, and it has no equivalent in an electric sauna or a domestic stove. The residual heat you have already paid for is what drives the moisture out.
- Open the drying vent and leave the door ajar. Narvi specifies that air should exit via the upper part of the room — which is the whole point of a high-level drying vent, if your sauna has one. Leave both open until surfaces are dry to the touch.
- Wipe water drops off the benches and off the heater. Harvia asks for both. Standing water on a hot steel casing is where corrosion starts.
- Take the towels and bucket out. Anything damp left inside is a damp sauna.
Two habits belong here as well, because they are the cheapest maintenance available. Always sit on a bench towel: Harvia notes that wooden surfaces cope well with moisture draining from clean skin, and the marks come from everything else. And avoid smearing the timber with sauna scents, honey or body products, and clear birch whisk leaves off the benches promptly rather than letting them stain.
The wood you burn is a maintenance decision
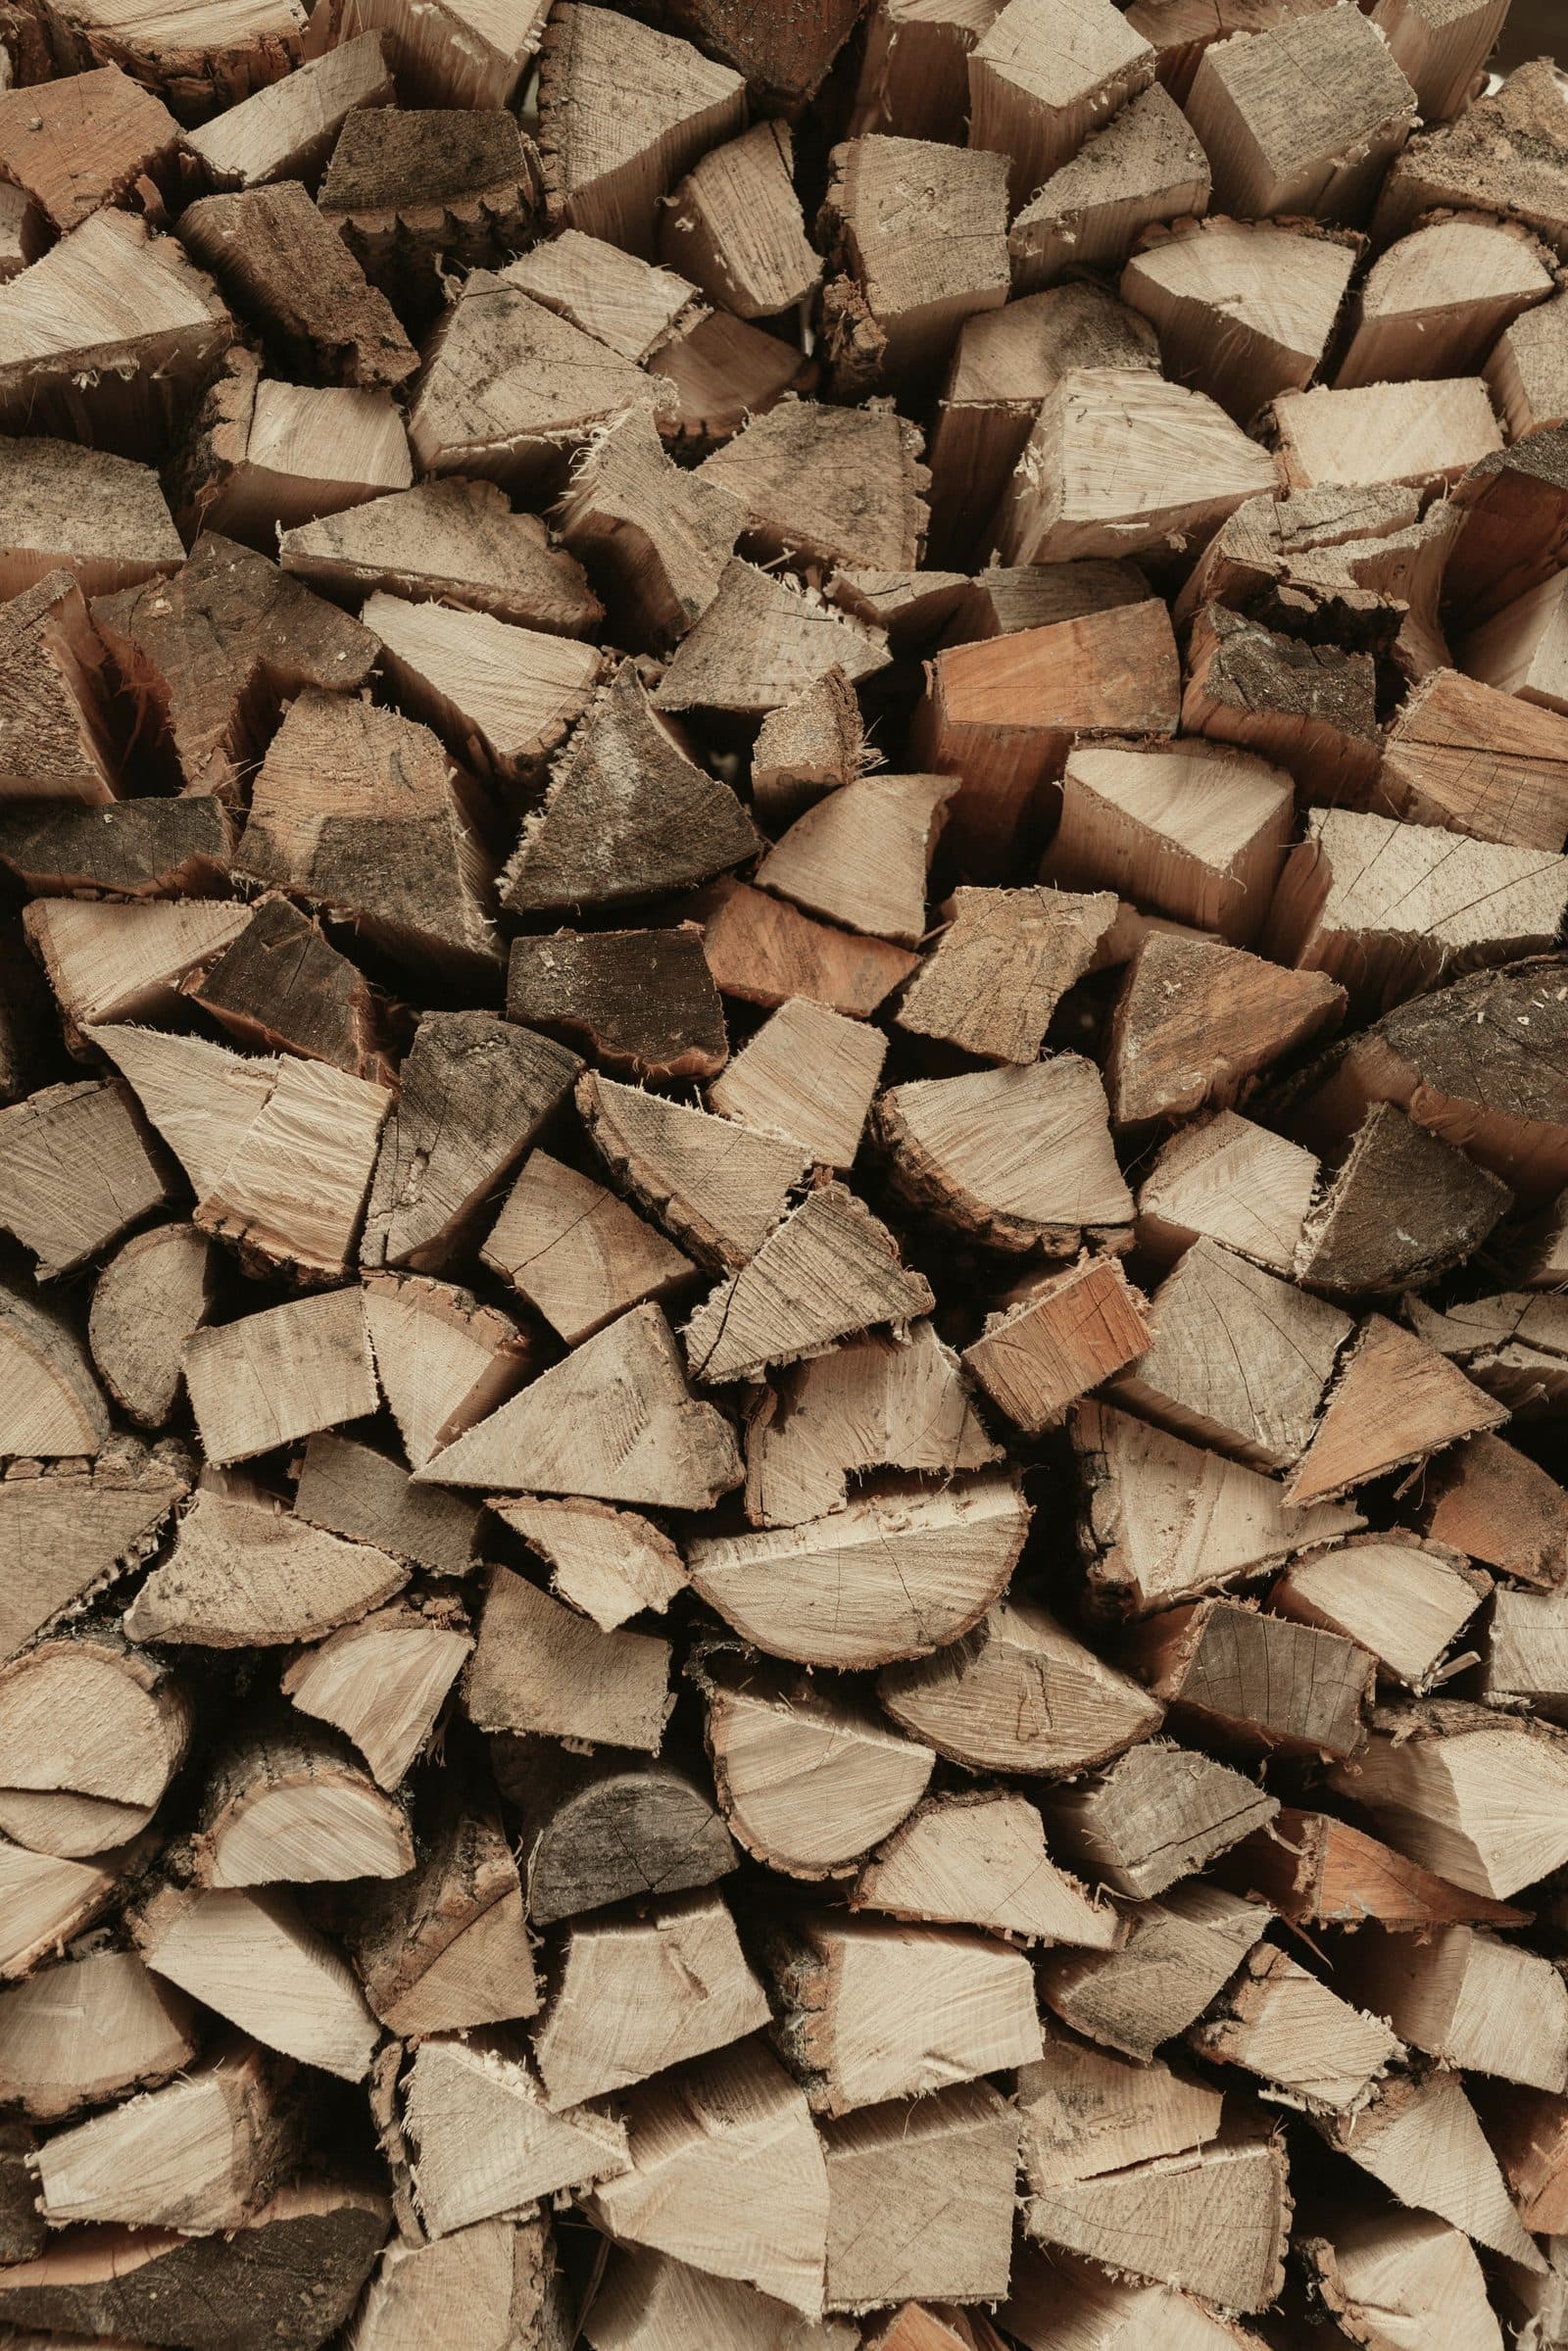
Fuel choice is not a separate topic from maintenance. Damp wood burns cool, and a cool fire lays down the tar that later becomes a flue problem, a corroded stove and a sweeping bill. Our stoves guide covers burn technique, including the field test: visible smoke should stop roughly five to ten minutes after lighting, and a fire still smoking after that is too cool.
What "Ready to Burn" actually means, and where
The Air Quality (Domestic Solid Fuels Standards) (England) Regulations 2020 came into force on 1 May 2021 and apply to England only. Two points matter to a sauna owner:
- Wood sold in units of less than two cubic metres must be authorised — in practice, certified below 20% moisture content and carrying the Ready to Burn logo with the supplier's details and a certification number.
- Wood sold in units of two cubic metres or more is not exempt from the scheme, as is often assumed. It falls under a different provision, which requires the supply to be accompanied by a notice about moisture content rather than being prohibited outright.
The regulations control the sale of fuel, not the burning of it, and they do not reach Scotland, Wales or Northern Ireland. If you season your own wood you are outside the scheme entirely, and the 20% figure is still the number to aim at — buy a cheap moisture meter and check a freshly split face rather than the outside of the log.
Never burn painted, treated or laminated timber. It is worth being specific about why in a sauna: you are standing a few feet from the appliance in a sealed room, and the flue is short.
Where you keep the wood matters too. A stack that sits under cover with air moving through it stays dry; one that sits against the sauna wall keeps that wall damp and gives you a fire risk beside the building.
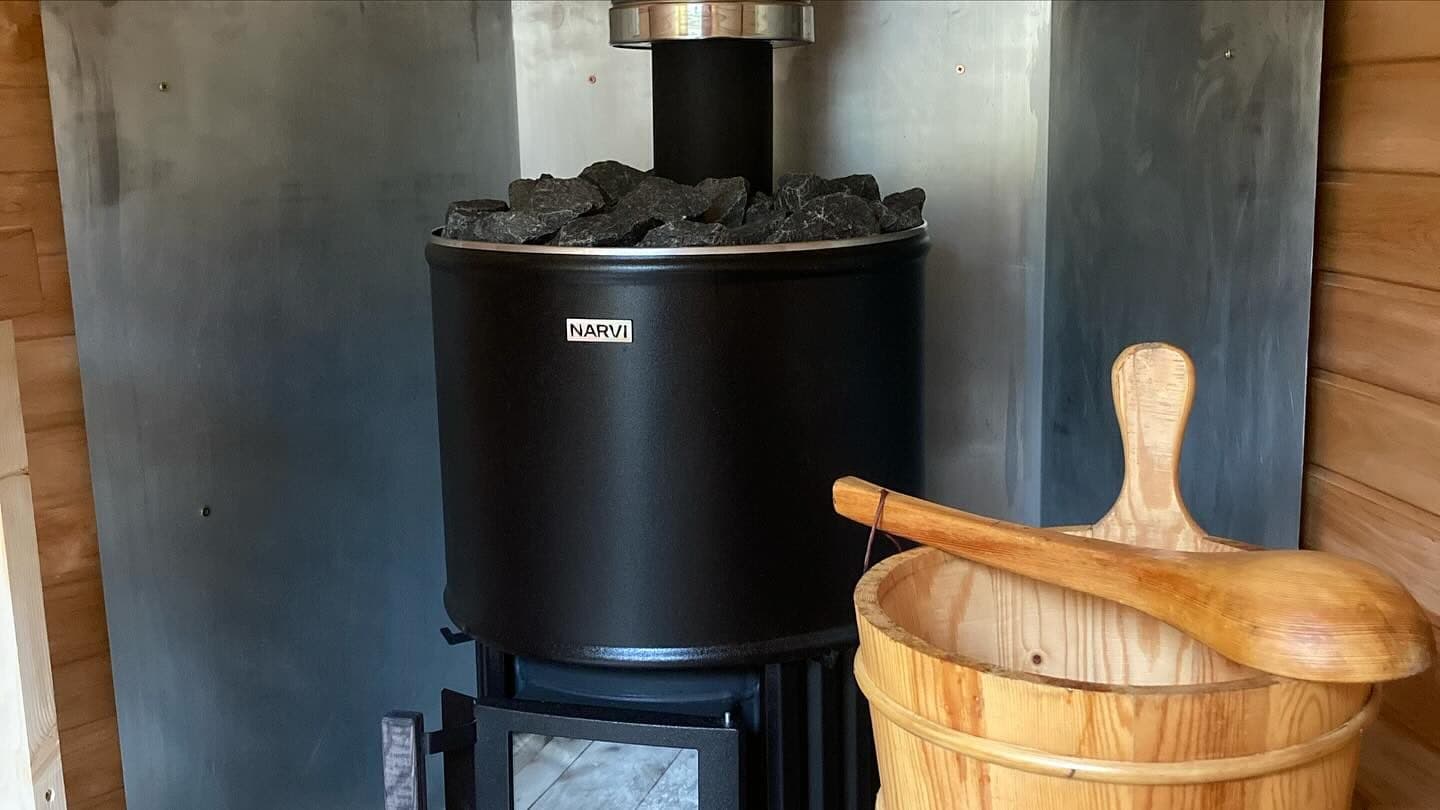
Ash, firebox and glass
The routine here is short, and one line of it contradicts what most stove articles say.
Ash: before every firing
Narvi's manual is unambiguous — the ash drawer "must be emptied every time before heating the sauna heater", and immediately if it is more than half full, because obstructed airflow damages the grate. HUUM says the same and explains the mechanism: "Empty the sauna stove's ash tray before each heating since this is used to adjust the draught."
This is where domestic-stove practice actively misleads. On many room heaters you are told to leave a bed of ash, which insulates the pan base and helps a slow burn. A sauna stove with a grate and a drawer works the other way round: the drawer is the primary air control, and ash in it starves the fire and cooks the grate. Empty it cold, into a metal container with a lid, kept away from the building until it is fully out — ash stays live far longer than it looks.
Firebox and heating surfaces
HUUM asks for the stove's heating surfaces to be cleaned at least once every twenty uses. Harvia's first maintenance tip for a wood-burning heater is to take a torch to the fire chamber and look for holes: heat escaping through a burnt-through firebox is both a performance problem and a safety one. Do that at the same time as the annual stone job and you will not forget it.
Limescale on the outside of the heater comes off with water and vinegar or citric acid, or a proprietary stainless-steel sauna heater cleanser.
Glass
Expect to clean it, and expect it to soot up faster if you burn damp wood or let the fire smoulder. As our stoves guide established, no sauna-stove manufacturer publishes a glass-cleaning procedure — the usual method, damp cloth dipped in cold wood ash on a cold stove, is transferable domestic-stove practice rather than sauna instruction. HUUM adds one sauna-specific warning worth heeding: do not splash water onto the glass door.
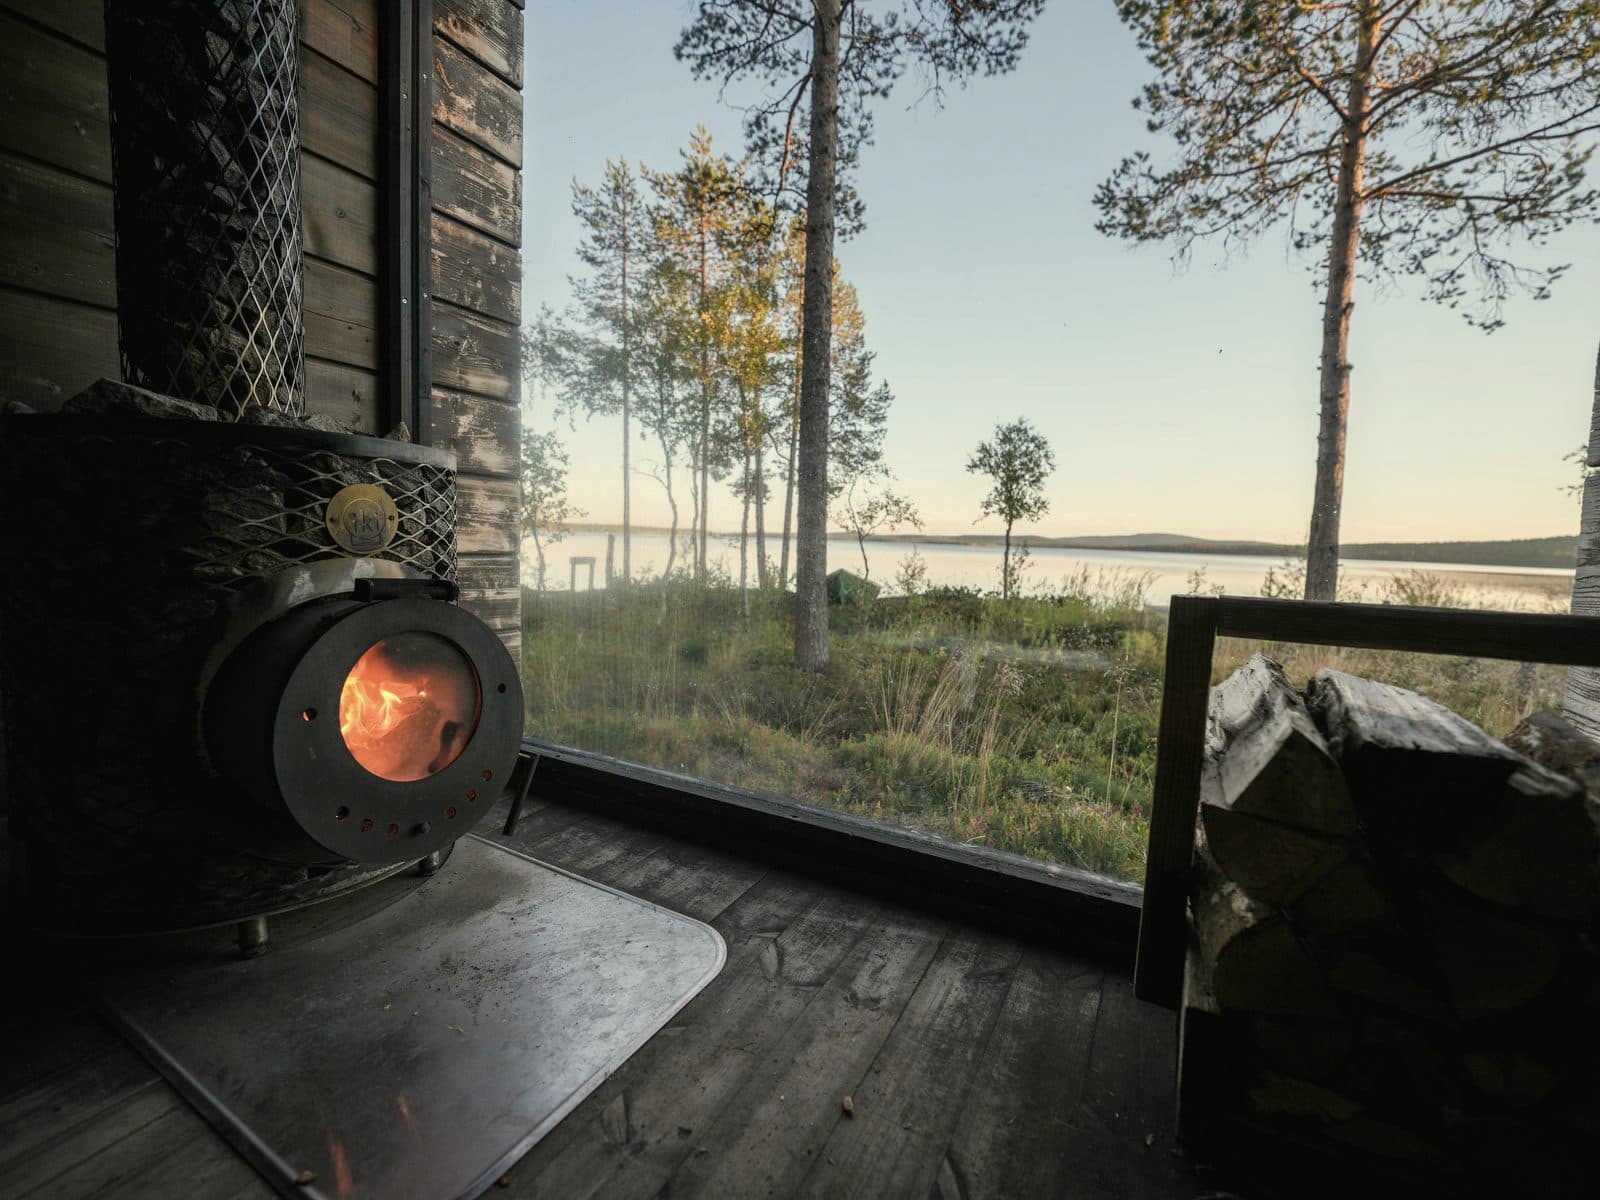
The flue and sweeping
Three different sources give three different answers on frequency, and the honest thing is to show you all of them rather than average them into a number nobody stated.
- HETAS encourages sweeping at least twice a year when burning wood, against at least once a year for smokeless fuels. This is the UK safety body's general recommendation for solid fuel.
- The stove manufacturers say annually. Narvi requires the fireplace, connecting flue and chimney to be swept regularly and "annually cleaned by a chimney sweep". HUUM says at least once a year.
- Your own installation may have a figure of its own. Approved Document J's commissioning checklist includes a field for "provision for cleaning and recommended frequency", and copies should be offered to the client. If your sauna was installed and commissioned properly, that paperwork states the interval for your actual flue.
Our reading: check the handover paperwork first, follow your manufacturer's figure as the minimum because that is what your warranty is measured against, and treat HETAS's twice-yearly as the safer reference if you fire often or burn anything less than properly dry. There is no sauna-specific sweeping authority in the UK — no equivalent of HETAS for saunas exists — so anyone quoting you a single confident interval for saunas specifically is extrapolating.
Timing, and why September
HETAS's advice on timing is more useful than the frequency for most owners: sweep "just before the start of the heating season and after your stove has not been used over a prolonged period". A sauna that has sat quiet through the summer meets both conditions at once. If you sweep twice, the second should follow the peak of the season.
Who does it
There is no legal monopoly on sweeping. What matters is that an approved sweep can issue a certificate, and that is the document you will want if you ever have to evidence maintenance. HETAS Approved Chimney Sweeps carry an identity card, and HETAS is not the only scheme — APICS, the Guild of Master Chimney Sweeps, NACS and Sweep Safe all operate.
The problem you may only find at the first sweep
Approved Document J says that after installation "it should be possible to sweep the whole flue", and asks for the number of bends to be limited so that flues can be swept and inspected. Short sauna flues with an offset or two are exactly where this goes wrong. If a sweep tells you your flue cannot be properly accessed, that is an installation problem you have inherited, not a maintenance one — and it needs fixing rather than working around.
If you ever have a chimney fire, the stove does not simply go back into service. Narvi's instruction is that after a soot fire, professional inspection is mandatory before the appliance is used again.
How common chimney fires actually are
Worth stating plainly, because the sweeping conversation tends to run on alarm. Fire and rescue services in England attended 1,665 chimney fires in the year to March 2026 — down 18% on the previous year, down 46% on five years earlier and down 60% on ten years earlier. Those are all chimneys, overwhelmingly house chimneys rather than saunas, and the trend is sharply downward. Sweep your flue because it protects the stove, the draught and your warranty, not because of a statistic.

Stones
The most sauna-specific maintenance job there is, and the one owners most often skip entirely. Stones are consumable. Harvia is direct about the cause: due to large variations in temperature, sauna stones disintegrate with use.
The first check comes sooner than you think
Harvia's care instructions note that stones settle most rapidly within two months of piling. Nearly every maintenance schedule published online, including the ones written by sauna companies, says to check the stones annually. For a new sauna, or one you have just restacked, that is roughly ten months too late for the first look.
Restacking, and how often
All three manufacturers we checked agree on annual restacking. Harvia asks for stones to be rearranged at least once a year, more often in frequent use, removing accumulated fragments from the bottom of the heater at the same time. The stated purpose is that heating capability stays optimal and the risk of overheating is avoided — the link between skipped maintenance and a stove running hot is the manufacturer's, not ours.
Replacement is where they differ, and we are not going to invent a consensus:
- Harvia: by condition. Tap two stones together; if they crumble or have yellowed, replace them.
- HUUM: replace crumbled stones once a year.
- Narvi (NC 16 manual): a fixed interval — rearranged once per year, replaced every other year.
Your own manual wins. If you have lost it, the condition test is the safer default, because it responds to how hard you actually fire the sauna.
How to stack them
Largest stones at the bottom of the stone space, and never packed tight — air has to circulate between them. New stones are washed before first use to remove impurities. Narvi lists a stone bed that is dirty, crumbling or stacked too tightly among the causes of a heater that will not perform.
That is the connection worth holding on to: bad löyly is usually a maintenance symptom before it is a design fault. If the steam has gone harsh or thin and nothing else has changed, look at the stones before you blame the stove. Stone-bed depth is a separate question, covered in the stoves guide.
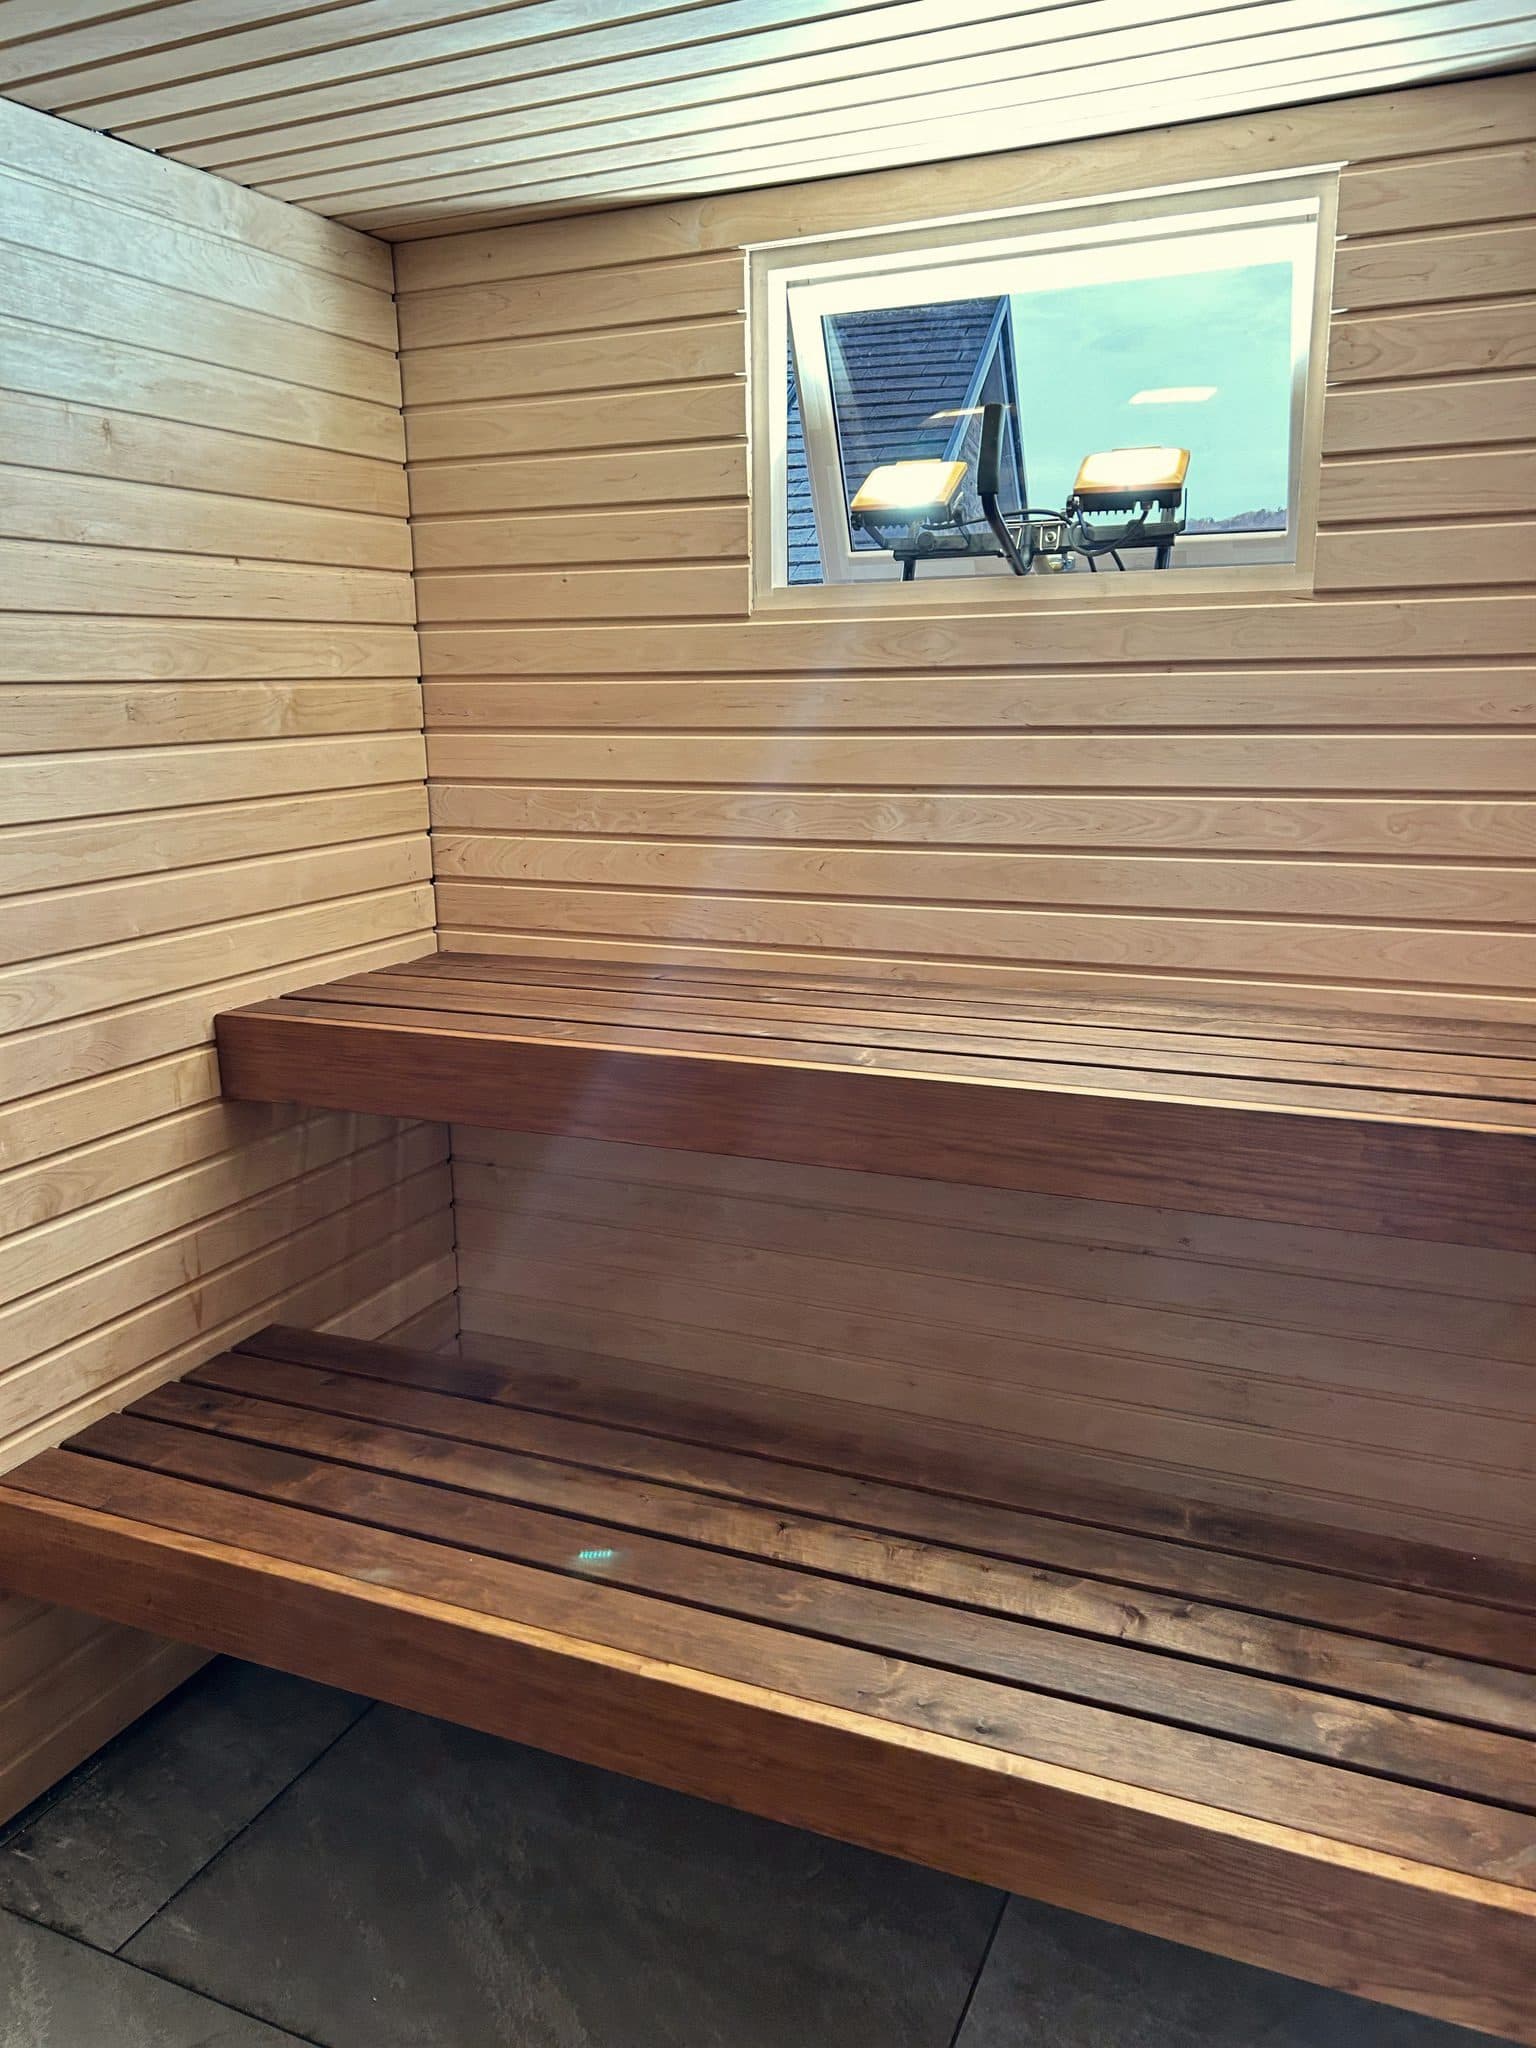
Timber, benches and the interior
The headline here is how little the timber wants doing to it. Two manufacturers agree independently, and both say the walls and ceiling should be left alone.
- Harvia: "In a family sauna, it is not necessary to protect the wall surfaces with any substances." And, plainly: "Do not use lacquer inside the sauna."
- Tylö: "The walls and ceiling inside the sauna must not be treated."
There is an exception, and it needs to travel with the rule rather than being dropped from it. Harvia says a door frame and wooden handle can be treated with a moisture and heat-tolerant sauna protection coat or a water-dilutable lacquer. Tylö permits paraffin oil on the door step, handles and wooden floor or decking, with extra care on the lower strips against the glass and anywhere condensation collects. So the rule is not "no finishes in a sauna" — it is that the hot surfaces you sit on and the surfaces above you are left bare, while fittings and thresholds can be protected.
Benches
Benches are the exception worth the effort. Harvia's routine: wash with warm water and a suitable cleaning solution, using a soft brush along the grain, then rinse with cold water — which closes the grain and helps the wood repel dirt — and let them dry for at least thirty minutes before oiling.
Then paraffin oil, which reduces how much moisture and dirt the wood absorbs and extends bench life. Two details that are easy to miss:
- Treat the end grain especially well. Harvia is explicit that the ends of the bench boards are where water absorption is greatest. Leave the oil thirty minutes to an hour, then wipe off any surplus.
- Test it on the underside of a bench first. The oil is colourless but it deepens the tone of the wood, and how much depends on the timber's age, porosity and original shade.
Frequency: Harvia's care document says one to three times a year depending on use, while its product page says once or twice. We are quoting the range rather than picking, because the same manufacturer gives both. A 500ml bottle covers roughly five square metres. New benches are treated before first use.
Cleaning the room
A family sauna needs a thorough clean one to three times a year, with a reasonable amount of water and a detergent that is slightly alkaline — Harvia specifies pH 8–10. Light sanding with fine sandpaper, along the grain, lifts embedded dirt from benches. Afterwards, make sure the room is completely dry by running the heater for a while and ventilating.
Do not use salt-based cleaning products. That advice comes from Narvi, and the reason is the same one behind the water rules below.
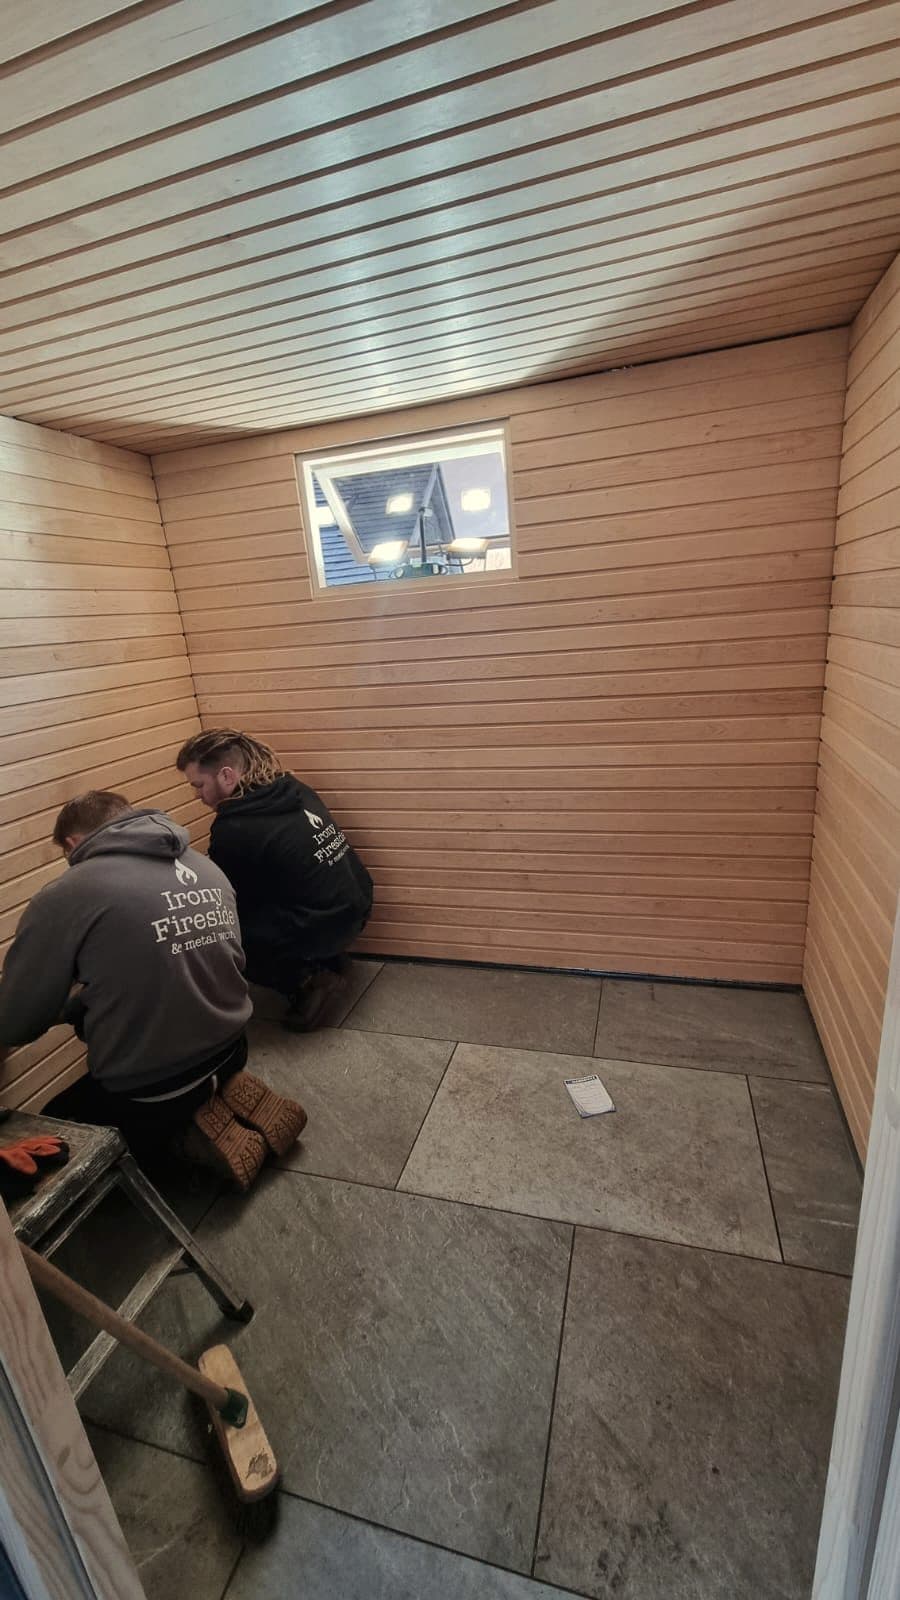
Ventilation, water and damp
Ventilation is the system that makes every other job on this page last longer, and it is the one most likely to be quietly wrong.
Narvi's design requirement is that after use there is a way to ventilate and dry the room so that air exits via the upper part of the steam room. During a session the high vent is usually closed; afterwards it is what lets the humid air out. If your sauna has no high-level outlet, drying depends entirely on the open door, and it will take considerably longer.
Narvi also lists the causes of a heater that will not draw properly, and two of them are ventilation rather than stove faults: a downdraught in the sauna, and underpressure in the building — a kitchen extractor running elsewhere can be enough to do it in an indoor sauna.
Damp and mould
The rule is simple and comes from the manufacturers rather than from us: do not shut a sauna up while the timber is still damp. Leave the door and vents open until surfaces are dry to the touch. This is the standard practice across UK sauna trade guidance too, and it is worth naming as practice rather than as a published standard, because no manufacturer publishes a drying time.
A sauna that never fully dries corrodes its own stove — and the damage it does to the timber is slower and harder to reverse. If you find dark staining that does not sand out, or a musty smell that survives a firing, treat it as a ventilation problem to diagnose rather than a surface to scrub.
What you pour on the stones
Both manufacturers we checked prohibit salt water, and the reason is corrosion:
- Narvi: "Do not use seawater or other salty water. Also do not use water containing chlorine."
- HUUM: do not splash saltwater onto the stove, and avoid hard water or water with a high iron content.
The chlorine point catches people out: water from a treated plunge pool or hot tub is not a convenient refill for the löyly bucket. Clean fresh water only.
Why this matters more in Britain than the manuals imply
Narvi notes that sea air and humid climates accelerate heater corrosion. In a Finnish manual that reads like a footnote for coastal owners. In Britain it describes a large share of the market: of the 279 saunas in our directory, 116 name a coastal or beach setting — and every one of those is wood-fired. Nearly two thirds sit beside water of some kind, counting lakes, rivers and floating saunas.
One honest caveat. Those 279 are listed, publicly visitable saunas rather than private garden ones, and the coastal skew partly reflects where sauna businesses choose to set up — cold water to get into afterwards. It is not a statistic about garden saunas. But it does mean that for the UK wood-fired estate we can actually see, a corrosion warning buried in the small print is describing the normal case rather than an edge case. If you are within sight of the sea, expect to inspect the stove and its fixings more often than the manual's schedule implies.

The outside of the building
Short, and deliberately without intervals. No sauna manufacturer publishes a maintenance schedule for the building shell, and we are not going to invent one for a timber structure whose exposure varies enormously between a sheltered garden and a beach. What follows is what to look at; how often depends on where yours stands.
- The flue penetration. Where the flue passes through the roof is the most likely place for water to get in, and the flashing there is the part that ages. Look at it from outside, and look for staining on the ceiling inside.
- The roof covering. Whatever it is made of, check it after storms rather than on a schedule.
- The base. Standing water under or against a timber building is the slow version of the same problem as a sauna that never dries. Keep the ground clear and draining away.
- Exterior timber. Unlike the inside, the outside of a cabin does want treating, and the interval is whatever the coating manufacturer states. The important thing is not to confuse the two: the products that belong outside must not come inside.
- Vegetation and stacked wood against the walls. Both hold moisture against the timber, and one of them is fuel next to a firebox.
If your sauna is mobile rather than fixed, it has a further set of checks — road vibration, trailer and towing condition, and a flue that comes off and goes back on. Our mobile sauna business guide covers that side of it.
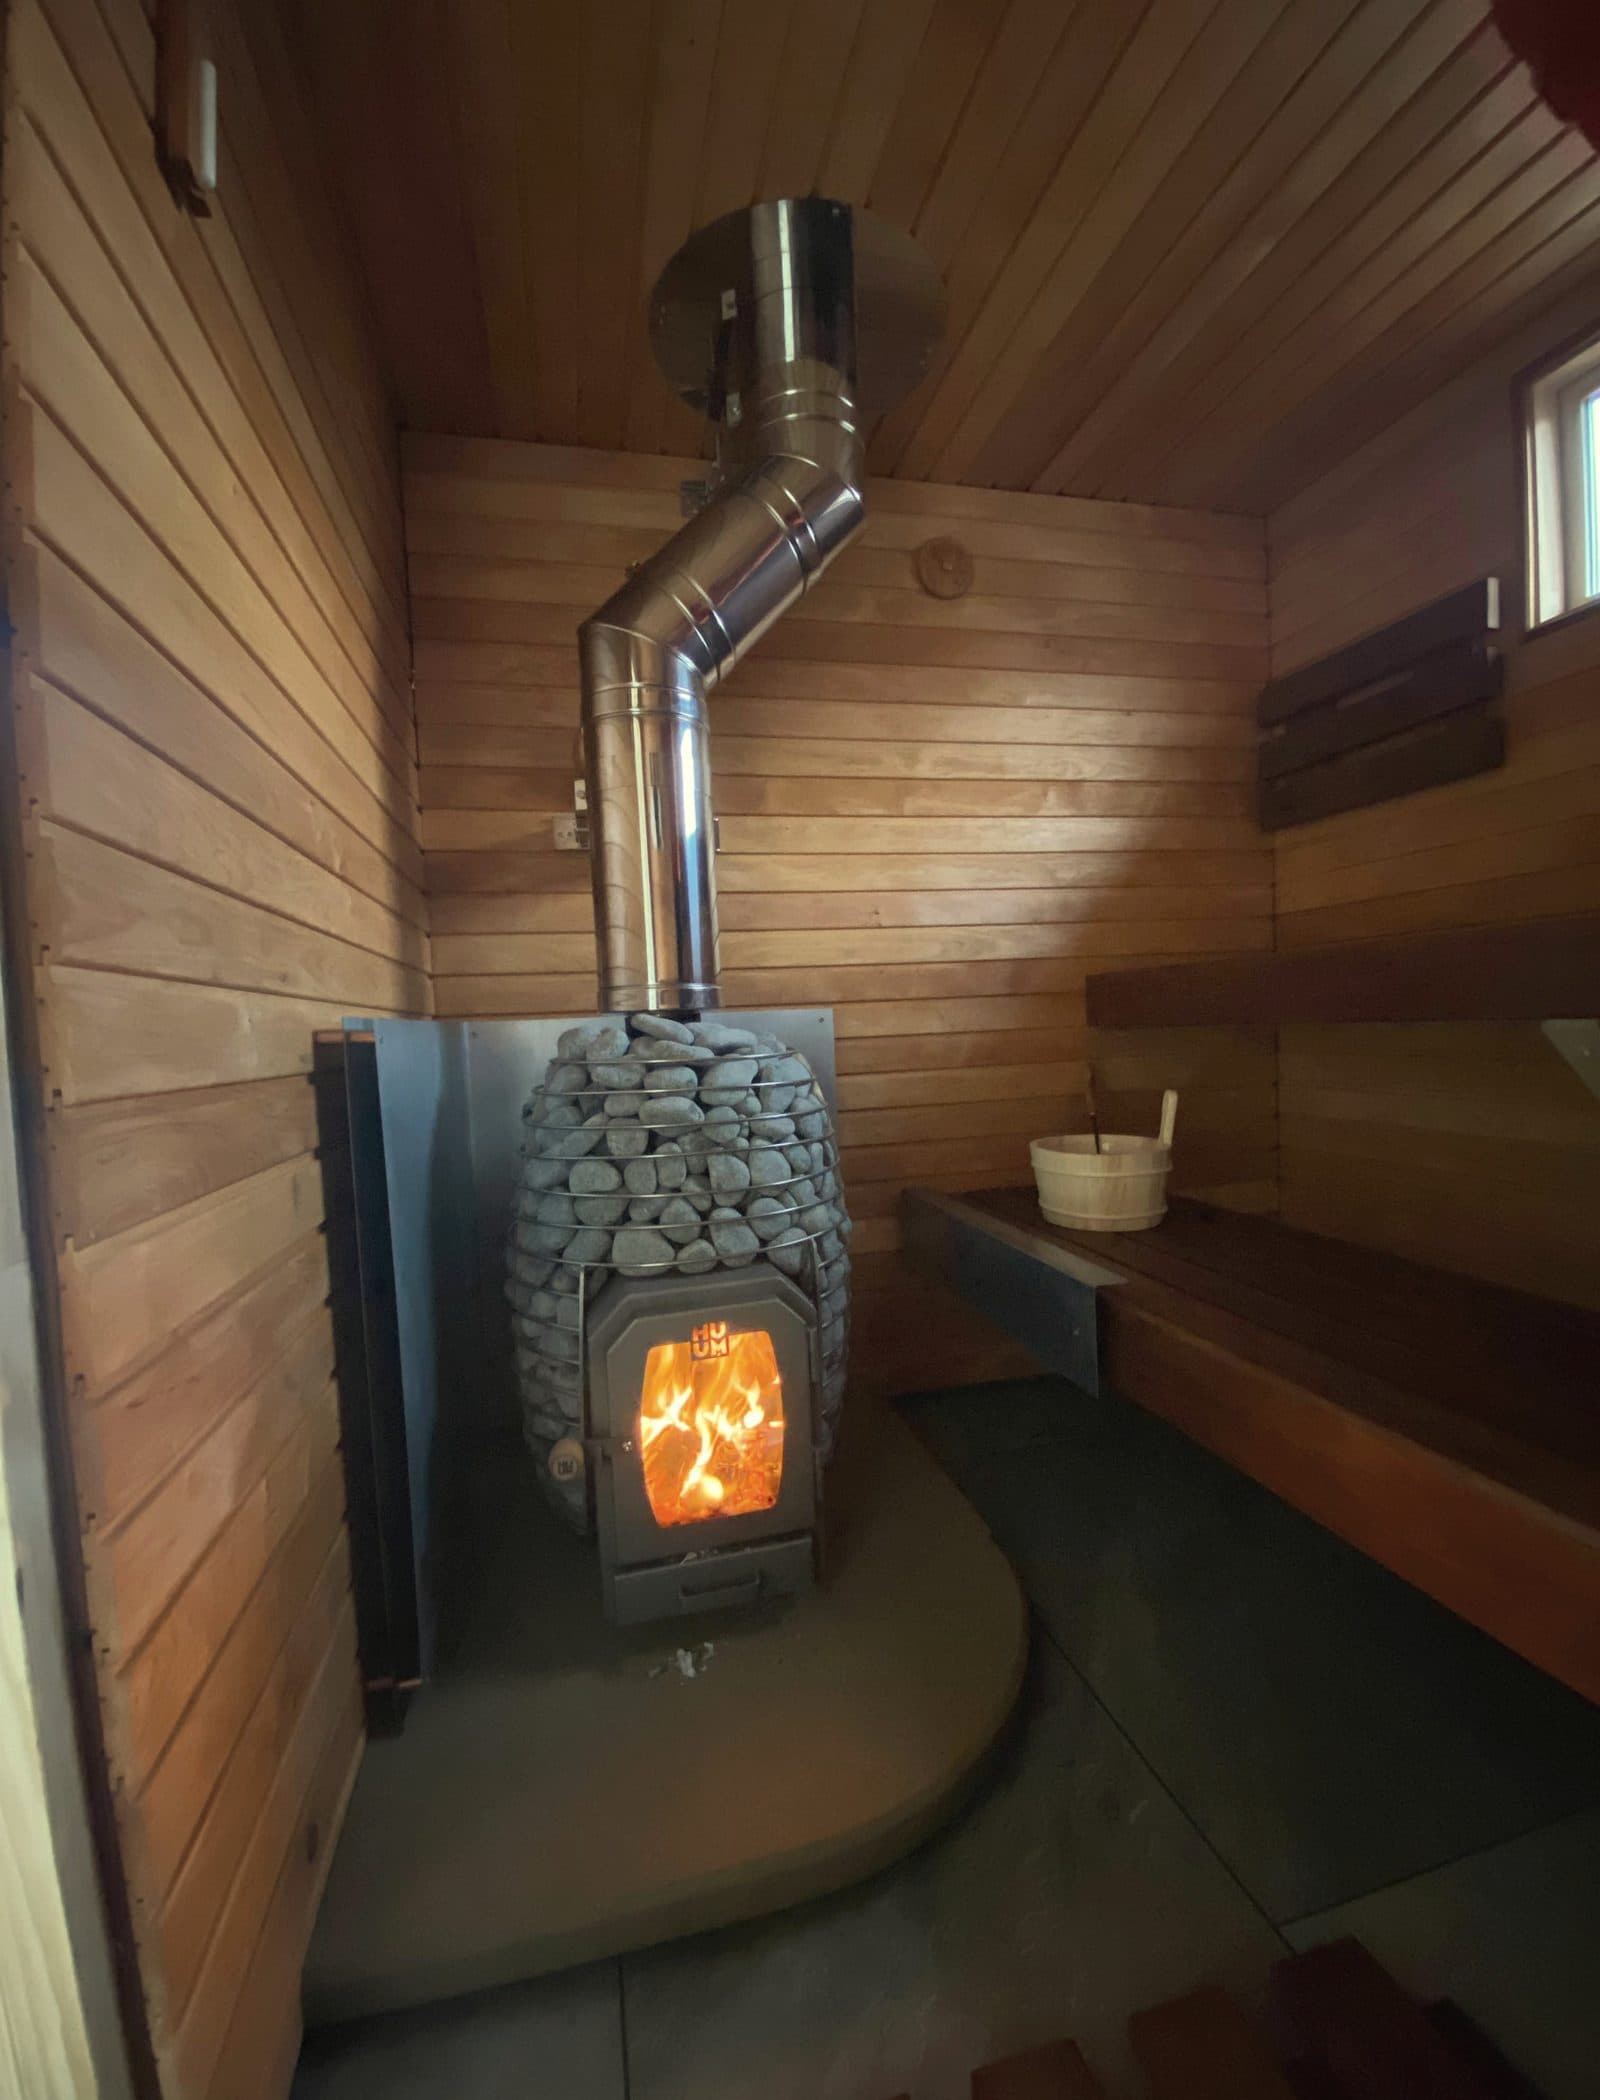
Recommissioning after a lay-off
The check before the first proper fire after a quiet stretch — typically the end of summer, though it applies equally after any long gap. HETAS names this moment specifically: sweep before the start of the heating season and after the stove has not been used over a prolonged period.
Work through it in this order, because each step depends on the one before.
- Look at the flue before you light anything. Nests, leaves and debris accumulate over a quiet summer. This is the sweep, if you are having one.
- Empty the ash drawer and clear the grate. Whatever was left in there has had months to absorb moisture and attack the metal.
- Torch the firebox. Harvia's check: look for holes and burn-through.
- Check the door rope and seal. A perished seal admits uncontrolled air and makes the fire hard to manage.
- Restack the stones and replace the failed ones. The knock test, and clear the fragments out of the bottom of the heater. If the sauna is newly built or newly stacked, this is the two-month check, not the annual one.
- Look for damp damage inside. Staining, soft timber, and anything that smells musty.
- Test the carbon monoxide alarm and check its expiry. CO alarms have a working life, and it is usually printed on the unit.
- Then light a modest first fire and watch it. Visible smoke should stop within five to ten minutes; slow, smoky burning means either damp wood or a flue that still is not clear.
If your stove has a water tank and you did not drain it before a freeze, check it now rather than by filling it. Expansion cracks tanks and valves, and that is a repair rather than an adjustment.
The schedule
Everything above, condensed. Nothing new appears here.
| When | What |
|---|---|
| Before every firing | Empty the ash drawer and clear the grate |
| After every use | Dry the sauna — stove on ~10 minutes, drying vent open, door ajar; wipe water off benches and heater; remove towels and bucket |
| Every ~20 uses | Clean the stove's heating surfaces (HUUM) |
| Two months after any new stone stack | Check the stones — this is when they settle fastest |
| 1–3 times a year | Thorough clean of the room; oil the benches with paraffin oil |
| Annually | Restack stones and replace the failed ones; sweep the flue (minimum, per manufacturers); torch the firebox; check door seal |
| Twice a year | Sweep the flue if you burn wood heavily or the wood is less than properly dry (HETAS) |
| Every other year | Replace stones outright, if you are following Narvi's fixed interval rather than a condition test |
| Before the season, or after a long gap | The full recommissioning sequence above |
| Before a freeze | Drain the water tank if you have one |
Two reminders about this table. The sweeping row has three defensible answers and we have given you the range rather than a single number — your commissioning paperwork, if you have it, beats all of them. And if you are near the sea, inspect the stove and its fixings more often than any of this implies.
When it is not maintenance any more
Two lists, and the first one matters as much as the second.
What is not a fault
Harvia's own guidance is useful here, because it tells owners what to stop worrying about. Wood is a living material: in dry conditions it shrinks and small cracks appear on the surface, and as humidity rises those cracks often close again. Tone, grain and knots vary from board to board. In Harvia's words, these are "wood properties, not manufacturing faults". A sauna that looks slightly different from the day it was installed is behaving normally.
What is a repair, not a routine
- Holes or cracks in the firebox. Found with the torch check. This is a replacement conversation, not a patching one.
- A flue that cannot be properly swept. An installation defect, and the sweep who tells you is doing you a favour.
- Any damage after a chimney fire. Professional inspection before the stove is used again — Narvi requires it, and it is the right call regardless of make.
- Soft or rotten timber, particularly low down or around the flue penetration. Sanding a rotten board makes it thinner, not better.
- A stone bed that has collapsed to dust, or where fragments have packed the bottom of the heater. Strip it and start again rather than topping it up.
- Persistent damp with no obvious cause. Almost always a ventilation or vapour-barrier problem in the fabric, which is a build issue — see the build guide.
Next steps
If you are working out what your stove specifically needs, the stoves guide covers sizing, burn technique, stone-bed depth and what shortens a stove's life. If the sauna is not built yet, the decisions that make it easy to maintain — sweepable flue, high-level drying vent, a base that drains — are made in the build guide, not afterwards.
And if you are in a smoke control area, our smoke control guide covers the position on exempt appliances, which is not what most sellers will tell you.
Frequently asked questions
- Three sources give three answers. Narvi and HUUM both say at least annually in their manuals. HETAS encourages at least twice a year for anyone burning wood. And if your sauna was commissioned properly, the Part J checklist should record a recommended frequency for your specific flue, which beats both. Follow the manufacturer's figure as the minimum, because that is what your warranty is measured against, and sweep twice a year if you fire often or your wood is not reliably dry. There is no sauna-specific sweeping authority in the UK.
- Manufacturers disagree, so use your own manual. Harvia says replace by condition: tap two stones together and replace any that crumble or have yellowed. HUUM says replace crumbled stones once a year. Narvi's NC 16 manual specifies a fixed interval of rearranging annually and replacing every other year. All three agree on restacking at least once a year. One thing few schedules mention: Harvia notes that stones settle fastest in the first two months after piling, so a new stack needs checking well before its first birthday.
- No. That is domestic stove practice and it does not carry across. Narvi's manual says the ash drawer must be emptied every time before heating, and immediately if more than half full, because obstructed airflow damages the grate. HUUM gives the reason: on a sauna stove the ash tray is what adjusts the draught. Empty it cold into a lidded metal container kept away from the building.
- Not legally, in most cases, and you should fit one anyway. Approved Document J's carbon monoxide requirement applies only to appliances in dwellings, and a typical detached garden sauna is exempt from the Building Regulations altogether. So nothing obliges you. But it is a small, sealed room with a fire in it, and Part J's own note says an alarm is not a substitute for correct installation and servicing. Follow your alarm manufacturer's siting instructions rather than Part J's, whose spacing guidance assumes a larger room than many saunas.
- Not the walls or ceiling. Harvia says plainly not to use lacquer inside the sauna and notes that in a family sauna the wall surfaces do not need protecting at all; Tylö says the walls and ceiling must not be treated. Benches are different and worth oiling with a paraffin oil made for saunas, one to three times a year depending on use, concentrating on the end grain. Door frames, handles, thresholds and decking can also be treated, with products intended for sauna conditions.
- Clean fresh water. Narvi prohibits seawater, other salty water, and water containing chlorine. HUUM prohibits saltwater and advises against hard water or water with a high iron content. In practice the trap is convenience: water from a treated plunge pool or hot tub should not go in the löyly bucket. Salt and chlorine both accelerate corrosion of the stove.
- We can find no statute requiring a domestic flue to be swept, and for a typical exempt garden sauna the Building Regulations do not apply at all. What does bind you is narrower and more practical: stove warranties are usually conditional on maintenance following the manufacturer's instructions, and while most home insurance policies do not explicitly mandate an annual sweep, they carry general repair conditions and an insurer will ask what maintenance you can evidence after a fire. Read your own policy wording rather than the sweeping trade's summary of it.
- Look at the stones before you blame the stove. Narvi lists a stone bed that is dirty, crumbling or packed too tightly among the causes of poor heater performance, and a bed that has settled and collapsed changes how water flashes to steam. Restack with the largest stones at the bottom and space for air between them, clear the fragments out of the base of the heater, and replace anything that crumbles under the knock test. Stone-bed depth is a related question covered in our stoves guide.
How often should I sweep a sauna flue?
How often do sauna stones need replacing?
Should I leave a little ash in the pan like a log burner?
Do I need a carbon monoxide alarm in a garden sauna?
Can I varnish or oil the inside of my sauna?
What water can I pour on the stones?
Is chimney sweeping a legal requirement in the UK?
Why has the steam gone harsh or weak?
Related guides
Wood-Fired Sauna Stoves Explained (UK)
How sauna stoves work, how to size one, and what UK law actually asks of you — checked against manufacturer specifications and primary legislation, with no stove to sell you.
Building & planningHow to Build a Wood-Fired Sauna in the UK
A practical technical guide to building a wood-fired sauna as a garden outbuilding in the UK — covering foundations, structure, insulation, stoves, ventilation, regulations, and costs.
Building & planningWood-Fired Saunas and Smoke Control Areas
No wood-fired sauna stove is on the Defra exempt list — none, in any UK nation. What smoke control law actually says in 2026, where it reaches a garden sauna, and where nobody yet knows.
Building & planningHow Much Does a Wood-Fired Sauna Cost in the UK?
Real 2026 prices for wood-fired saunas — kits, delivered barrels, stoves, self-builds and running costs — checked against live UK supplier pages, with no sauna to sell you.
Browse the directory
The monthly digest
New saunas and new guides, once a month. No spam, unsubscribe any time. Your address is used only for the digest — privacy notice.